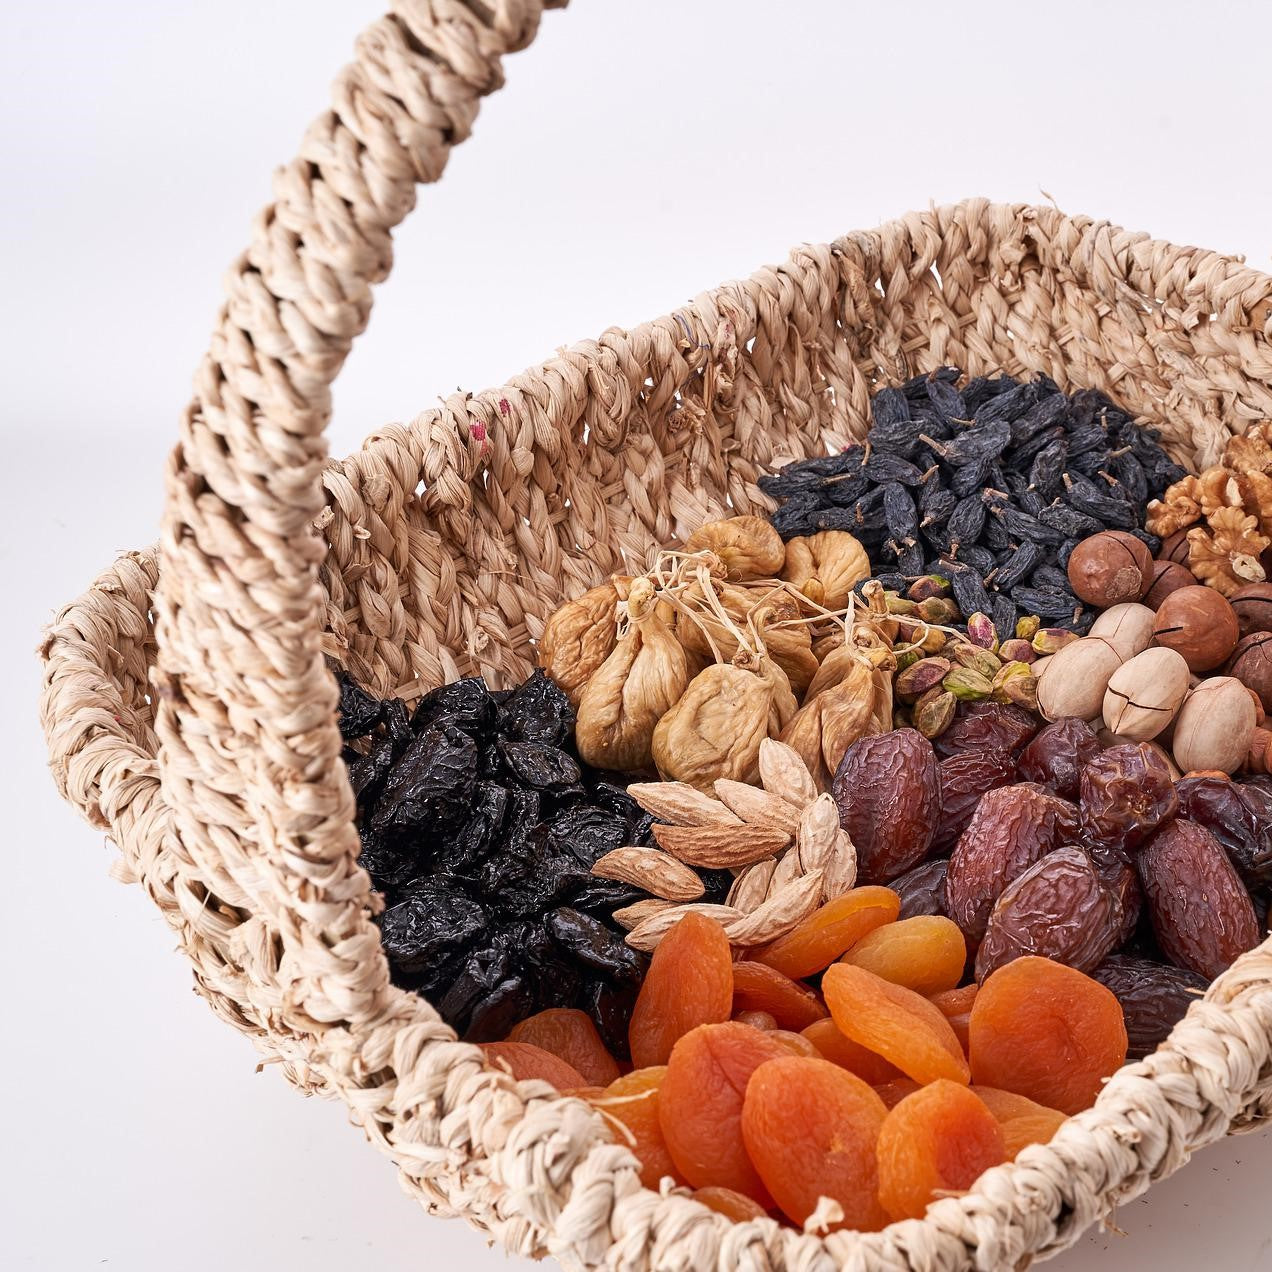
Dried fruit is a delicious and nutritious snack that you can easily make at home. With a variety of fruits available, you can create unique combinations that suit your taste. Dried fruits are perfect for snacking, adding to dishes, or even gifting. This article will guide you through how to make dried fruit, the benefits of homemade dried fruit, and tips for successful results.
Choosing the Right Fruit
Popular Fruits for Drying
The first step in making fruit is selecting the right fruit. Many fruits can be dried, but some are more suitable than others. Common choices include apples, peaches, pears, apricots, and bananas. Each fruit has distinct flavors that intensify when dried.
Apples are excellent for drying due to their sweetness and crispness. They can be sliced and eaten as chips or added to cereals. Bananas also dry well and have a rich flavor that enhances with dehydration. On the other hand, stone fruits like peaches and apricots provide a succulent taste, making them great options for snacking.
When choosing fruit, look for fresh, ripe specimens. Overripe or bruised fruit may not dry well and could spoil. Sticking with seasonal fruits can also lead to better flavors and textures. By selecting the right fruit, you set the stage for delicious dried snacks.

Preparing the Fruit
Cleaning and Cutting
Once you’ve selected your fruits, the next step is preparation. Begin by washing the fruit thoroughly to remove any dirt or pesticides. Use cool water and scrub gently to avoid damaging the skin. If you’re using apples or pears, you may want to peel them, although the skin adds fiber and nutrients.
After cleaning, cut the fruit into uniform pieces to ensure even drying. For example, apple slices can be cut into rings or wedges, while bananas should be sliced into rounds. The thickness of the pieces will affect drying time; thinner slices will dry faster, typically taking 6 to 12 hours, while thicker pieces may require a longer drying period.
For some fruits, such as apples and peaches, you can dip the slices in a mixture of lemon juice and water to prevent browning. This step is optional, but it helps maintain the fruit’s vibrant color and freshness. Proper preparation will lead to better preservation and taste.
Drying Methods
Choosing Your Drying Technique
There are several methods available for drying fruit, each with its own benefits. The most common methods include using a dehydrator, an oven, or air drying.
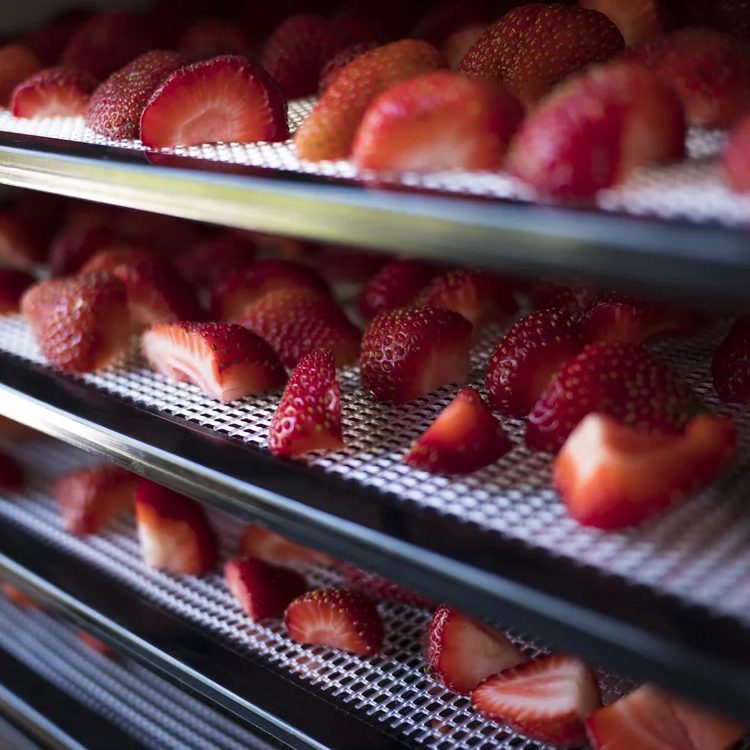
Dehydrator: This is the most effective method, as dehydrators are designed specifically for drying fruits. They provide consistent low heat and airflow, ensuring even drying. Simply place the prepared fruit on the trays, set the temperature, and let the dehydrator do its job.
Oven: Using an oven is another viable option. Preheat the oven to a low temperature (around 140°F / 60°C). Spread the fruit on a baking sheet lined with parchment paper, making sure the pieces do not touch. Check the fruit periodically, as it may take 6 to 12 hours depending on the type and thickness of the fruit.
Air Drying: This method requires warm, dry, and ventilated conditions. You can string the fruit or place it on screens, ensuring good airflow around each piece. Keep in mind that air drying can take several days and is best suited for dried fruits with lower moisture content, such as figs or tomatoes.
Selecting the right drying method will depend on your equipment, available time, and personal preference.

Monitoring the Drying Process
Checking Doneness
As your fruit dries, it’s crucial to monitor its progress. Depending on your method and the type of fruit, drying times can vary significantly. For instance, apple slices may take around 6 to 8 hours in a dehydrator, while bananas might require 8 to 10 hours.
To check for doneness, look for a leathery texture without any moisture. The fruit should be dry but still somewhat pliable. Over-drying can lead to a tough texture, while under-dried fruit may spoil more easily. To avoid this, take a few pieces out of the dehydrator or oven and let them cool for a couple of minutes before tasting.
When drying in the oven, it’s particularly important to check closely to prevent scorching. If you notice browning, turn down the heat or cover the fruit loosely with foil. Being attentive during the drying process can help ensure the best results.
Storing Dried Fruit
Proper Storage Techniques
Once your fruit is dried, proper storage is essential for maintaining freshness. Start by letting the fruit cool completely before storing it. This prevents moisture buildup inside the storage container, which could lead to mold or spoilage.
Use airtight containers to store your dried fruit. Glass jars, vacuum-sealed bags, or freezer bags with a zipper closure work well. Be sure to remove as much air as possible before sealing to prolong freshness. Store dried fruit in a cool, dark place, such as a pantry or cupboard, to protect it from light and heat.
If stored correctly, dried fruit can last for 6 to 12 months, depending on the type of fruit. For long-term storage, consider placing it in the freezer. Freezing can extend its shelf life significantly while retaining the fruit’s quality.

Creative Uses for Dried Fruit
Incorporating Dried Fruit into Recipes
Dried fruit is incredibly versatile and can be used in various recipes. It can be eaten on its own as a snack or incorporated into meals and baked goods. One popular use is adding dried fruit to trail mixes for a healthy energy boost during hiking or exercising.
You can also toss dried fruit into salads for added texture and sweetness. It pairs well with nuts and seeds, creating a satisfying and nutritious dish. In baking, fruit enhances desserts like muffins, bread, or oatmeal cookies. It adds a natural sweetness that reduces the need for added sugar.
Another creative option is using dried fruit in homemade granola or energy bars. Simply mix the dried pieces with oats, nuts, and a sweetener of your choice. These treats are perfect for on-the-go snacks and can be customized to your taste preferences.
Health Benefits of Dried Fruit
Nutritional Advantages
Dried fruit is not only delicious, but it also offers numerous health benefits. One of the primary advantages is its convenience and portability, making it an excellent on-the-go snack. It is rich in essential nutrients, including vitamins, minerals, and dietary fiber.
Dried fruits, such as apricots and prunes, are particularly high in fiber, promoting digestive health. They can also help regulate blood sugar levels, making them a good option for individuals looking to manage their weight. Additionally, dried fruit often contains antioxidants, which are beneficial for overall health.
However, it’s important to consume fruit in moderation. While it is nutritious, it is also calorie-dense due to the concentration of sugars. Balancing dried fruit with other whole foods can help maintain a healthy diet.
Conclusion: Enjoy Your Homemade Dried Fruit
In conclusion, making dried fruit at home is a simple and rewarding process. By choosing the right fruits, preparing them carefully, and selecting the best drying method, you can create delicious snacks that are both nutritious and convenient.
With a variety of uses and health benefits, dried fruit is an excellent addition to your diet. Whether you enjoy it on its own, mix it into recipes, or share it with friends, homemade dried fruit is sure to please. Take the time to experiment with different fruits and techniques, and enjoy your journey into the world of dried fruit!


